


")


![]() © 2026 Máy Tính Đất Việt .Máy Tính Đất Việt.
© 2026 Máy Tính Đất Việt .Máy Tính Đất Việt.
![]() Tel: 02462.958.448
Tel: 02462.958.448


 |
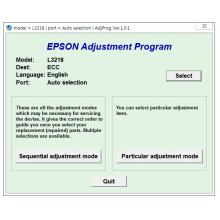 Phần mềm Reset Epson L3218 Adjustment Program-xử lý Lỗi 2 đèn đỏ, Key reset máy in L3218
Bán: 0 SP
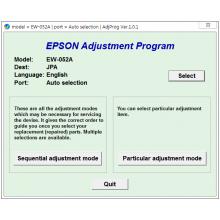 Phần mềm reset Epson EW-052A Adjustment Program
Bán: 0 SP
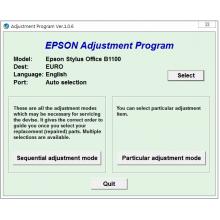 Phần mềm reset Epson B1100 Adjustment Program
Bán: 0 SP
 Phần mềm Reset Epson SC-PX5VII, Epson SC PX5V2 Adjustment Program
Bán: 0 SP
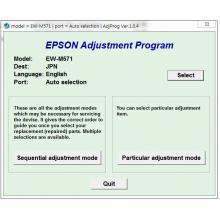 Hướng dẫn reset Epson EW-M571T, Phần mềm Epson EW-M571T Adjustment Program
Bán: 0 SP
 Reset Epson ET-2760 Adjustment Program
Bán: 0 SP
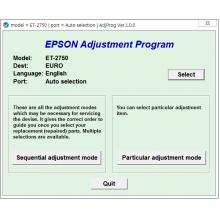 Phần mềm reset Epson ET-2750 Adjustment Program
Bán: 0 SP
 Tool reset Epson ET-2600, ET-2650 Adjustment Program
Bán: 0 SP
 Tool reset Epson ET-2400 Adjustment Program
Bán: 0 SP
 Phần mềm reset Epson L4268 Adjustment Program
Bán: 0 SP
 Reset Epson L382 L386 L486 Adjustment Program
Bán: 0 SP
 Epson WF-2650, WF-2660, WF-2750, WF-2751, WF-2760 Adjustment Program
Bán: 0 SP
 Epson EP-902A (JPA) Ver.1.0.5 Service Adjustment Program, reset Printer Epson 902A
Bán: 0 SP
 Reset Epson ET-2860, ET-2870, ET-2876 (EURO) Service Adjustment Program
Bán: 0 SP
 Reset Epson ET-2812 Service Adjustment Program FIX error E-11
Bán: 0 SP
 Epson EP-M476T (JPA) Adjustment Program fix E-11
Bán: 0 SP
 Epson ET-14000 (EURO) Adjustment Program
Bán: 0 SP
 Epson L1259 (ECC) Service Adjustment Program
Bán: 0 SP
 Reset Epson ET-2500, ET-2550 Adjustment Program
Bán: 0 SP
 Epson XP-3100, XP-3105, WF-2830, WF-2850, XP-4100, XP-4105 Adjustment Program
Bán: 0 SP
 EPSON WF-2910, WF-2930, WF-2935, WF-2950, Epson XP-3200, XP-3205, XP-4200, XP-4205 Adjustment Progra...
Bán: 0 SP
 Phần mềm reset Epson EW-056A Adjustment Program
Bán: 0 SP
 Tool Reset Epson L4266 Adjustment Program
Bán: 0 SP
 Reset Epson ET-16600 Adjustment Program
Bán: 0 SP
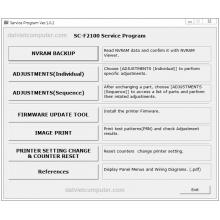 Epson Surecolor SC-F2100 Service Adjustment Program
Bán: 0 SP
 Reset Epson L3216 Adjustment Program
Bán: 0 SP
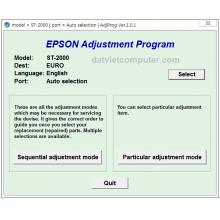 Epson ST-2000 Adjustment Program
Bán: 0 SP
 Reset Epson EP-315 Adjustment Program
Bán: 0 SP
 Phần mềm Reset Epson WF-R8590 Service Adjustment Program + SM NEW
Bán: 0 SP
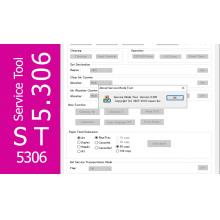
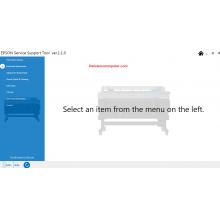
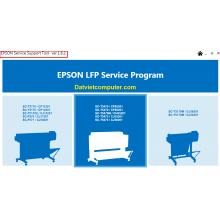 EPSON Service Support Tool Ver.1.8.2, Download Reset Epson SureColor SC-F500 F570, T3170, T3170x, T5...
Bán: 0 SP
 Epson Surecolor SC-F7200 Service Adjustment Program
Bán: 0 SP
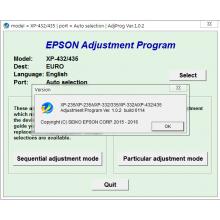 Epson XP-235, XP-235A, XP-332, XP-332A, XP-335, XP-432, XP-435 Adjustment Program Resetter
Bán: 0 SP
 CANON SERVICE TOOL V6500 FULL KEYGEN NEW 2025
Bán: 0 SP
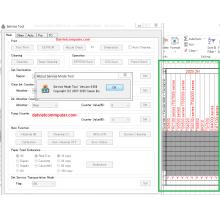
 Epson SureColor S40600, S40610, S40650, S40670 Service Adjustment Program
Bán: 0 SP
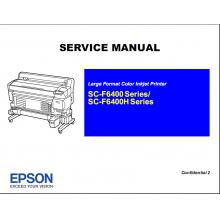 EPSON SureColor F6400,F6400H, F6470 Service Manual PDF
Bán: 0 SP
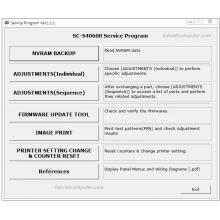
 Service program Epson SureColor F6400, F6400H, F6470 Support tool fix error 0014BD
Bán: 0 SP
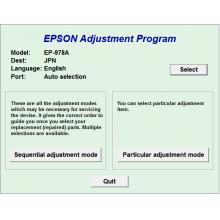 Reset Epson EP-978A3 Adjustment Program
Bán: 0 SP
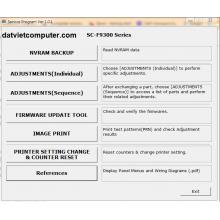 Epson SureColor SC-F9300 Series Service Adjustment Program
Bán: 0 SP
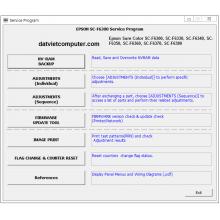 Epson SureColor SC-F6300 Series Service Adjustment Program F6300 F6330 F6340 F6350 F6360 F6370 F6380...
Bán: 0 SP
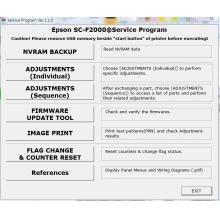 Phần mềm reset Epson SC-F2000 Service Adjustment Program
Bán: 0 SP
110.000₫
Bán: 0 SP
Liên hệ
Bán: 0 SP
100.000₫
Bán: 0 SP
![]() © 2026 Máy Tính Đất Việt .Máy Tính Đất Việt.
© 2026 Máy Tính Đất Việt .Máy Tính Đất Việt.
![]() Tel: 02462.958.448
Tel: 02462.958.448
Đánh giá
Nhận xét - Đánh giá